Follow these simple steps to get started with ReplyPilot
Use this guide to reach first value fast: install the extension, open a supported social post, type /rp, and generate your first reply.
Step 1: Install ReplyPilot Chrome Extension
To get started with ReplyPilot, install the Chrome extension first:
-
Visit the Chrome Web Store
-
Click Add to Chrome to install the ReplyPilot plugin

Step 2: Pin ReplyPilot Chrome Extension
To ensure easy access, it's important to pin the ReplyPilot extension to your Chrome toolbar. This will allow you to quickly activate and use the extension whenever you need it.
-
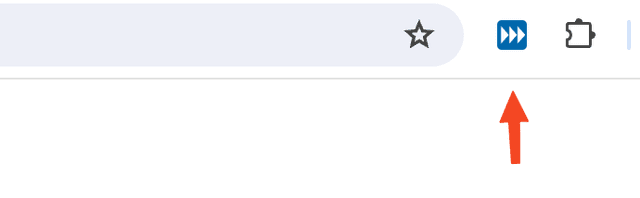
Locate the 🧩 icon at the top right of your chrome browser
-
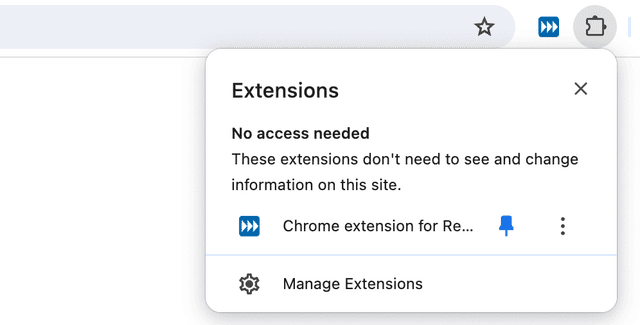
Manage extensions by clicking the puzzle icon in the Chrome toolbar.
-
Pin it by clicking the 📌 so it becomes blue.

Step 3: Activate ReplyPilot Chrome Extension
The final setup step is to activate the extension so it is ready inside supported social surfaces.
- Activate the extension by clicking on the
- Follow the on-screen instructions to complete activation. Once activated, the extension will be ready when you open a supported post and type
/rp.
Step 4: Generate your first reply
Open a supported site such as LinkedIn or X, choose a post with a comment field, and type /rp. The ReplyPilot panel will open so you can choose your settings and generate your first draft.

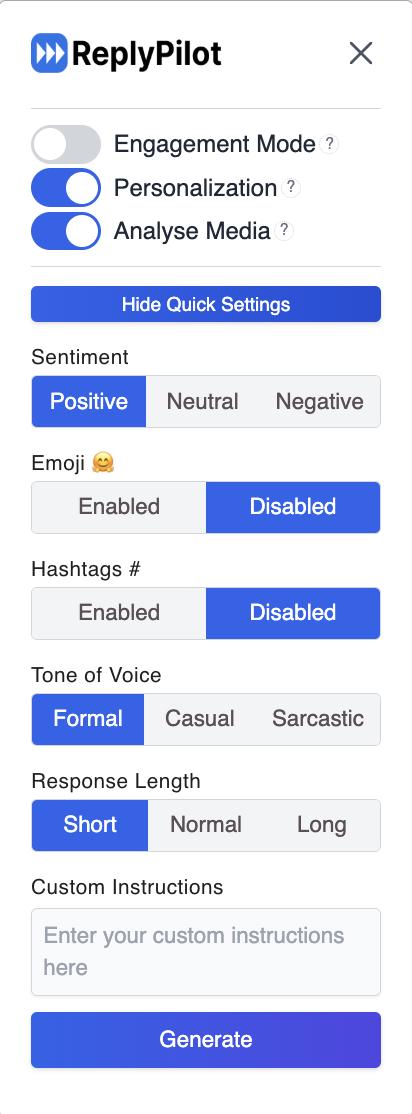
Step 5: Choose settings and generate
Use the Quick Settings Bar to choose the tone, style, and other reply options you want before clicking Generate. For better results, configure Personalization so ReplyPilot can reflect your voice more consistently.
What's next?
You are now ready to use ReplyPilot. For platform-specific walkthroughs and customization tips, continue through the linked guides in the documentation.